Photographing the Night Sky in North America
With a clear night, a dark sky, and a camera you already own, you can photograph the Milky Way on your first try. That part is easier than most people think.
This guide is what I wish someone had handed me before that first trip: how to find those skies, when to go, what to bring, and how to come back with an image that does the night sky justice.
Milky Way Season in the Northern Hemisphere
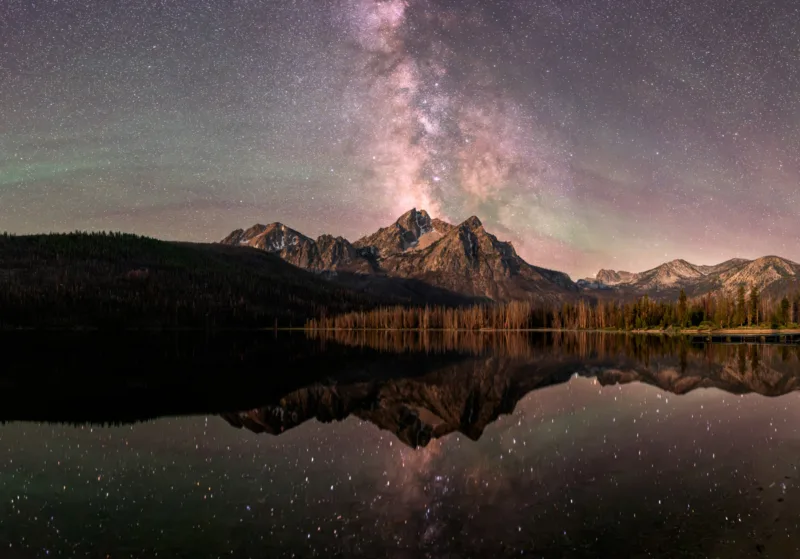
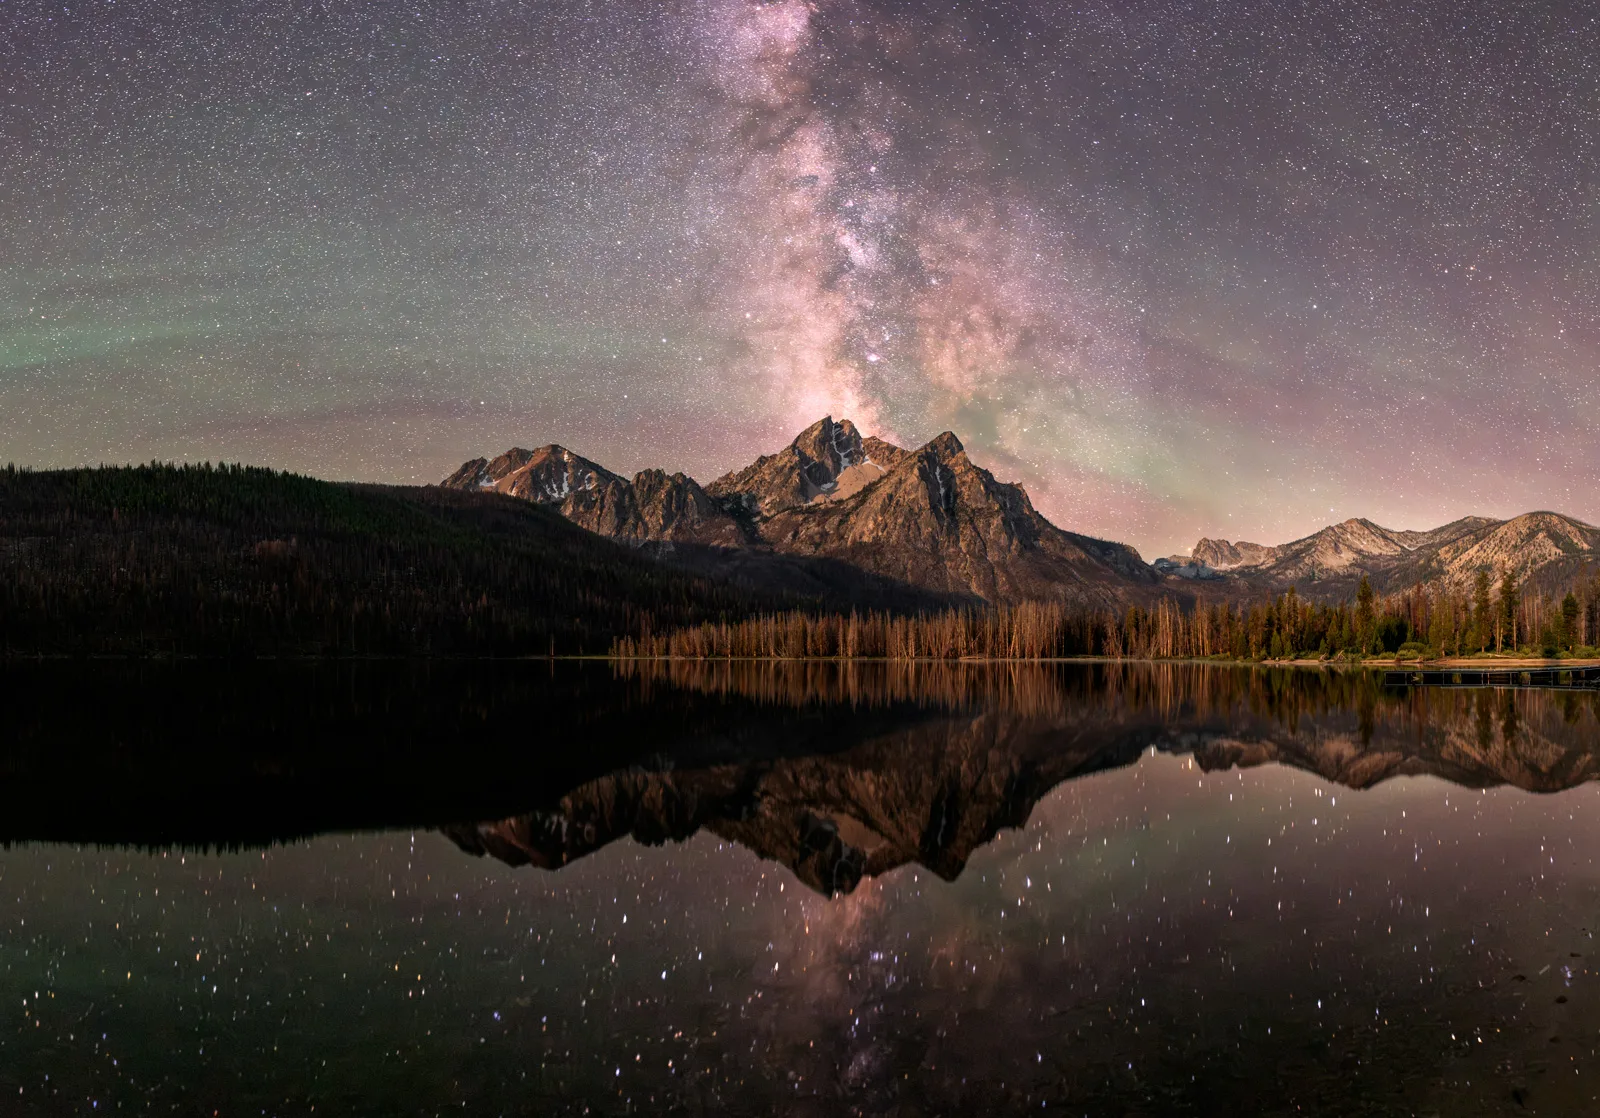
The galactic core, the bright glowing center of the Milky Way you see in most “wow” night photos, is only visible from North America for part of the year.
- February to March. Good for panoramas or capturing the whole Milky Way arch.
- April to June. Core rises just after dark. Prime season for most photographers.
- July to August. Core visible most of the night, vertical orientation, and the longest shooting windows.
- September to October. Core sets earlier each evening. Last realistic chance until next spring.
- November to January. The galactic core is below the horizon, but the stars can still make for beautiful night photography.
Planning the Shot
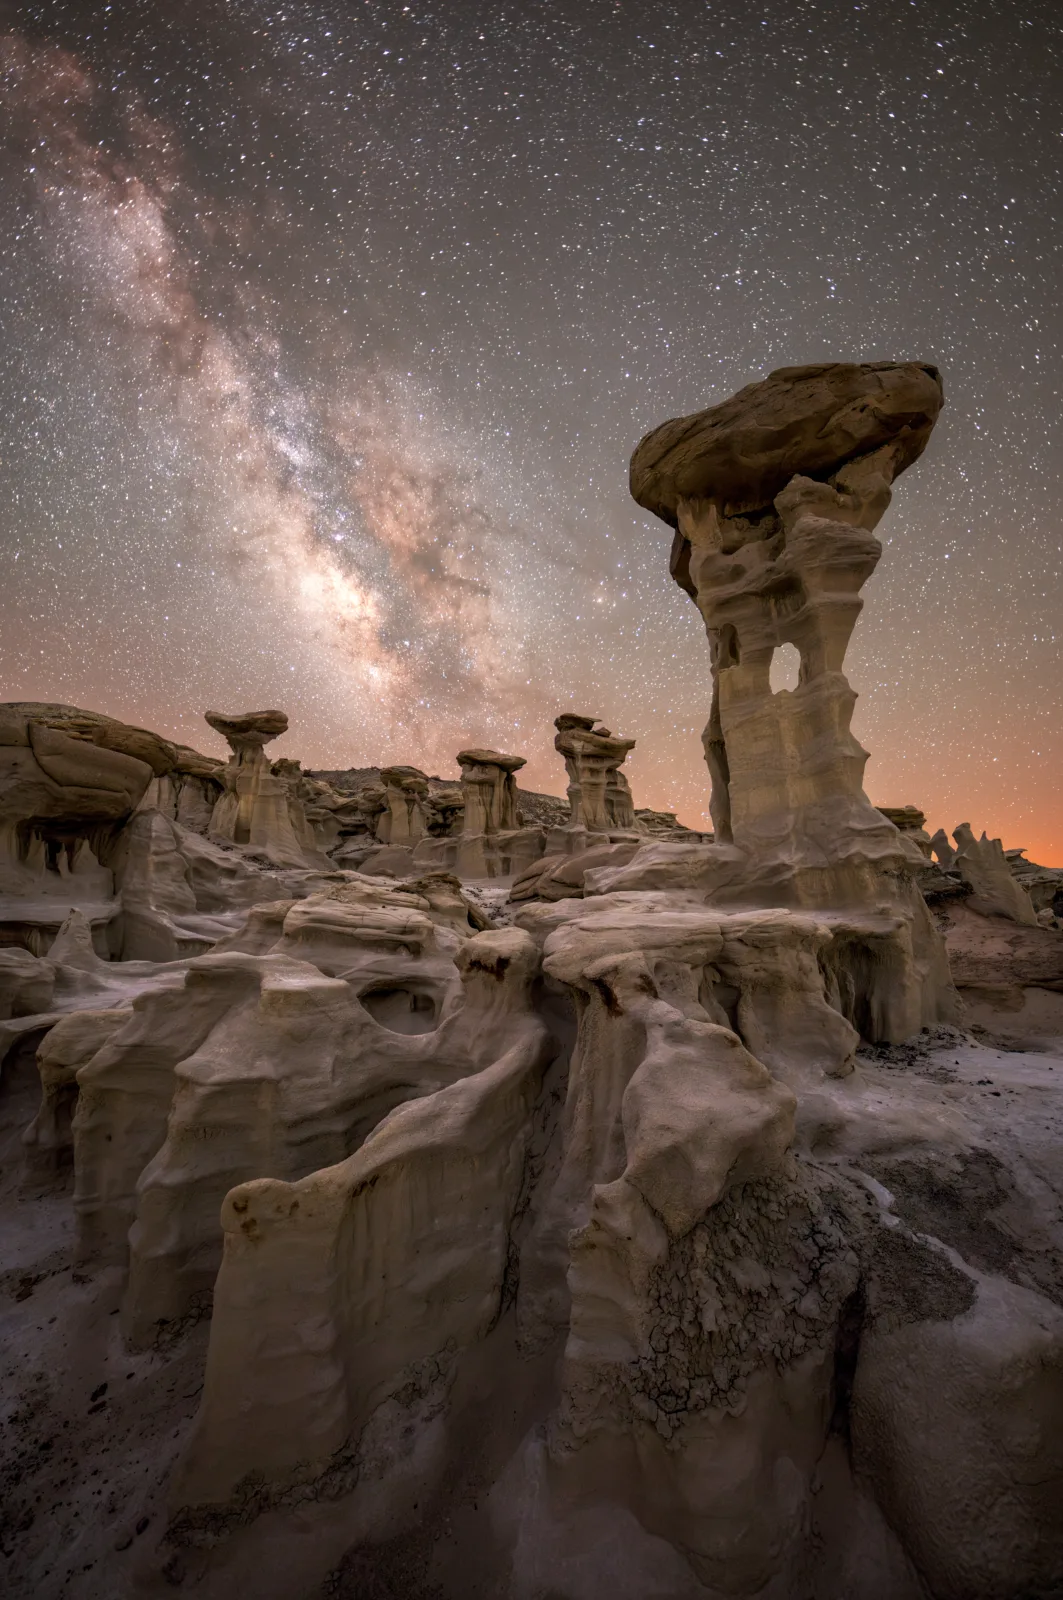
Planning, dark skies, patience, and a little luck go a long way toward creating beautiful night photographs. Using the tools available to us helps to tilt the scales in our favor.
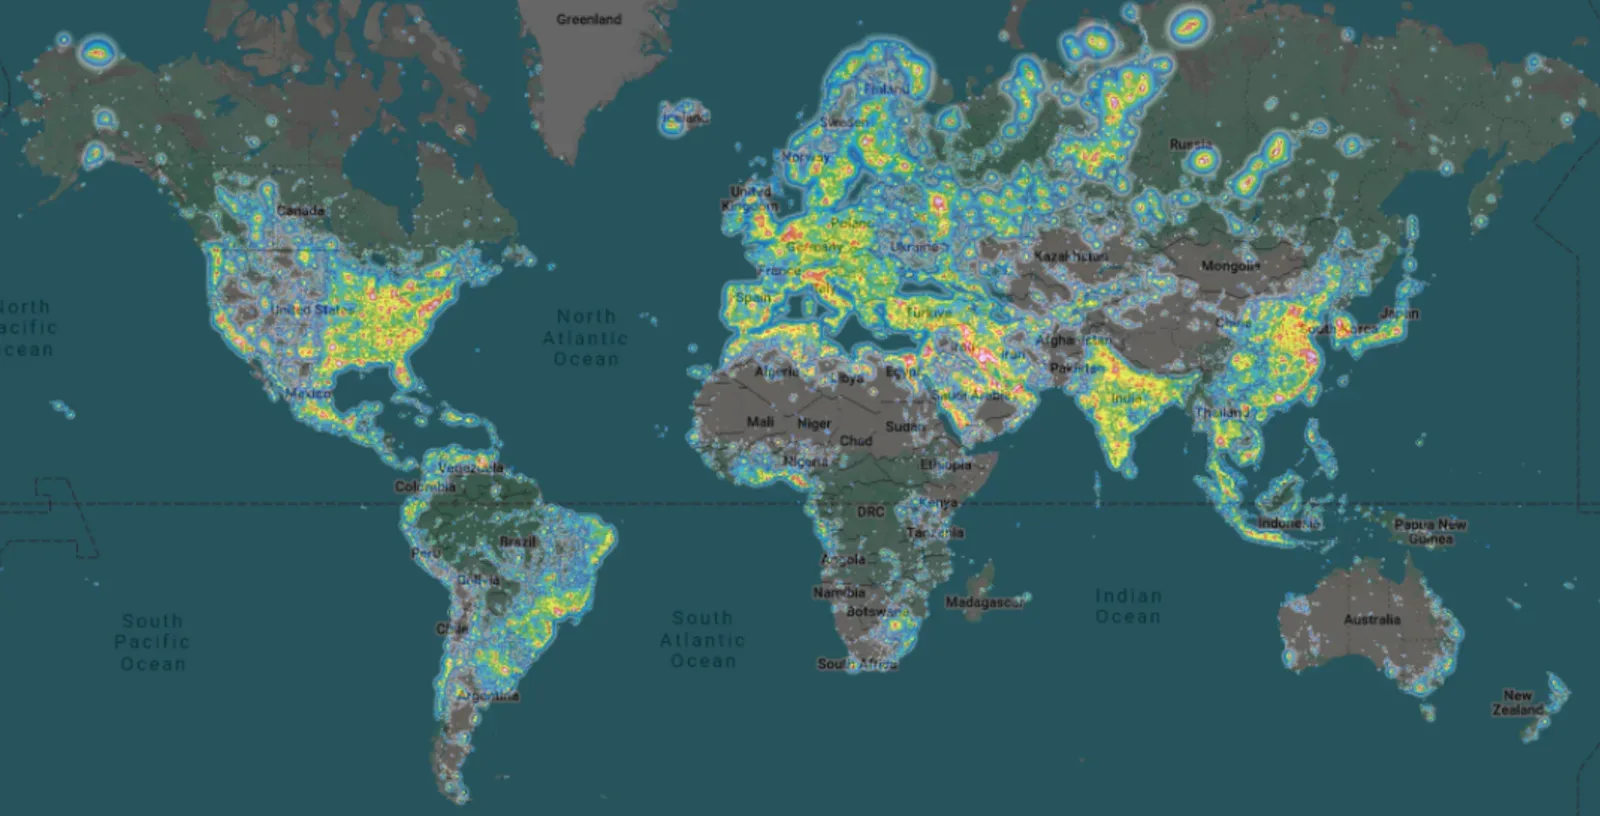
Finding Dark Skies
Dark skies matter more than expensive gear.
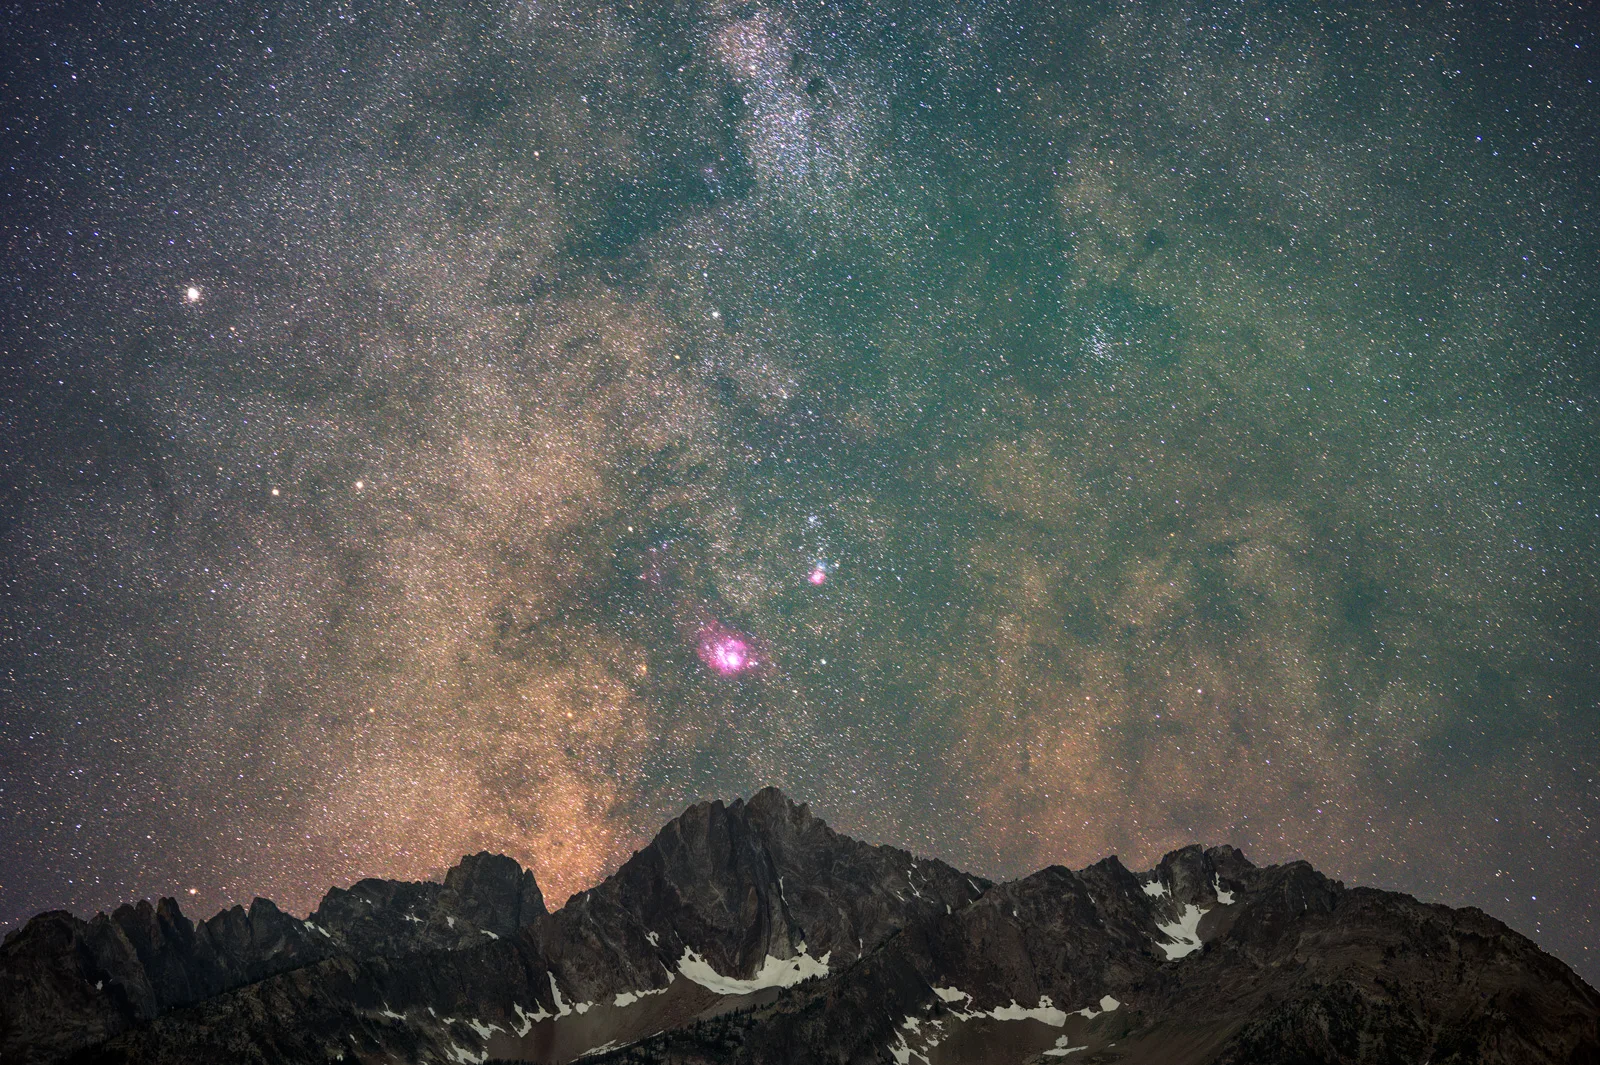
The Bortle Scale measures sky darkness from the following:
- Bortle 1: Extremely dark, pristine skies
- Bortle 2–3: Excellent Milky Way visibility
- Bortle 4: The Milky Way may still be visible
- Bortle 5+: Increasing light pollution makes the Milky Way more difficult to see and photograph
Use Light Pollution Map or DarkSky International’s Place Finder when planning a location.
Weather and Conditions
Clear skies are ideal, but they aren’t the only conditions worth photographing. Watch for:
- Clouds: Can add atmosphere and drama.
- Smoke: Can significantly reduce star visibility.
- High thin clouds: Often make stars appear soft or hazy.
- Humidity: Can create glow around bright stars and increase the chance of lens condensation.
- Dew: Use a lens warmer when conditions require it.
- Wind: Can cause vibration during long exposures.
Apps for Planning
From the comforts of home or in the field, these apps give you all the tools needed to plan your perfect shot.
- Light Pollution Map. Starting point for finding dark skies.
- Dark Site Finder. Another useful tool for locating dark locations.
- Clear Outside. Astronomer-grade cloud forecasting.
- Stellarium. Free planetarium app for identifying what’s in the sky in real time.
- The Photographer’s Ephemeris (TPE). Accurate sun, moon, and shadow planning.
- The Photographer’s Ephemeris 3D. Great for visualizing terrain and alignments.
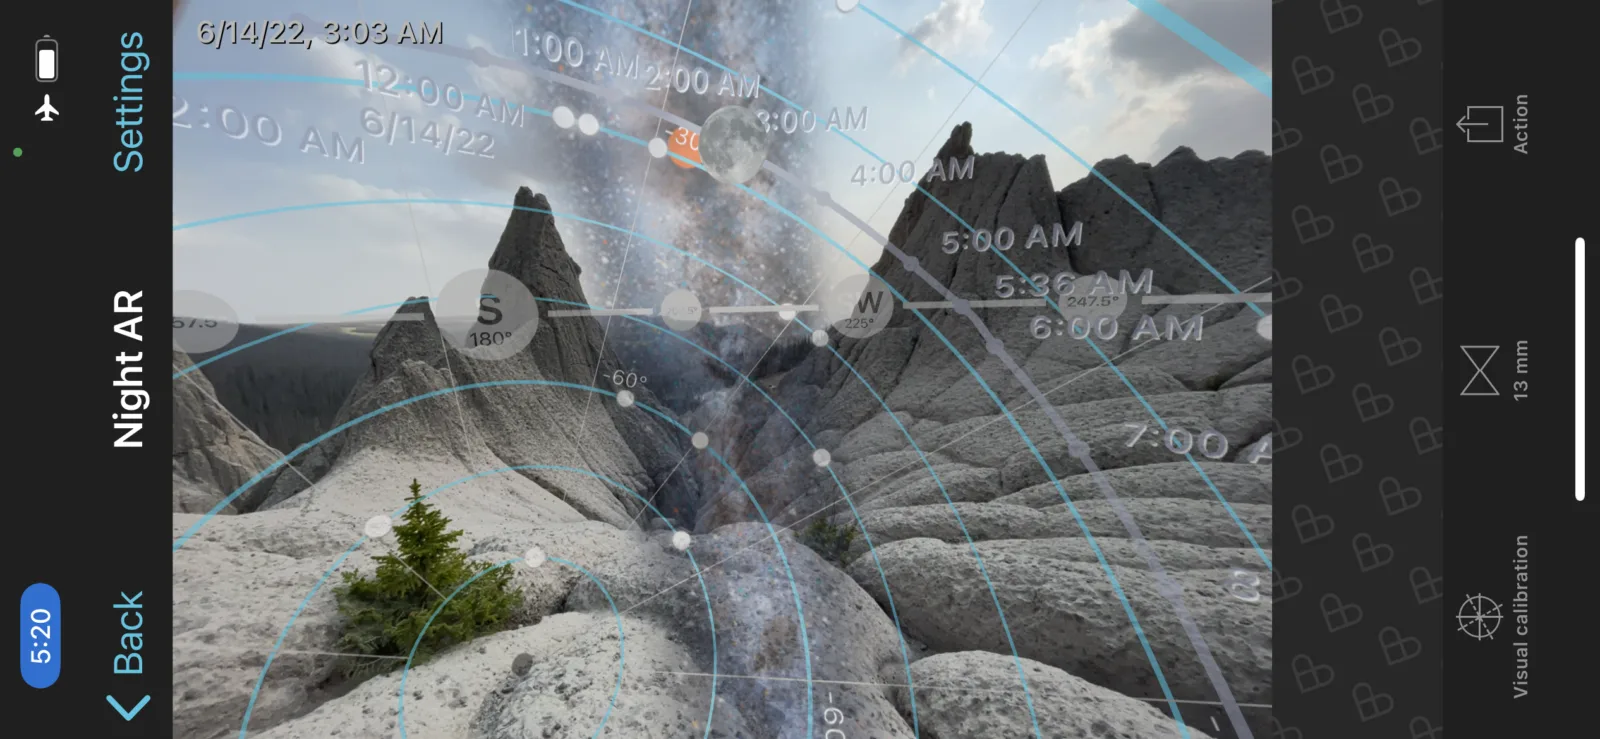
- PhotoPills. My in-field go-to for every shot. The augmented reality view lets me see exactly what my shot will look like during the day.
Moonlight or No Moonlight
There’s no right or wrong answer; plan around the moon phase based on the style you’re looking for.
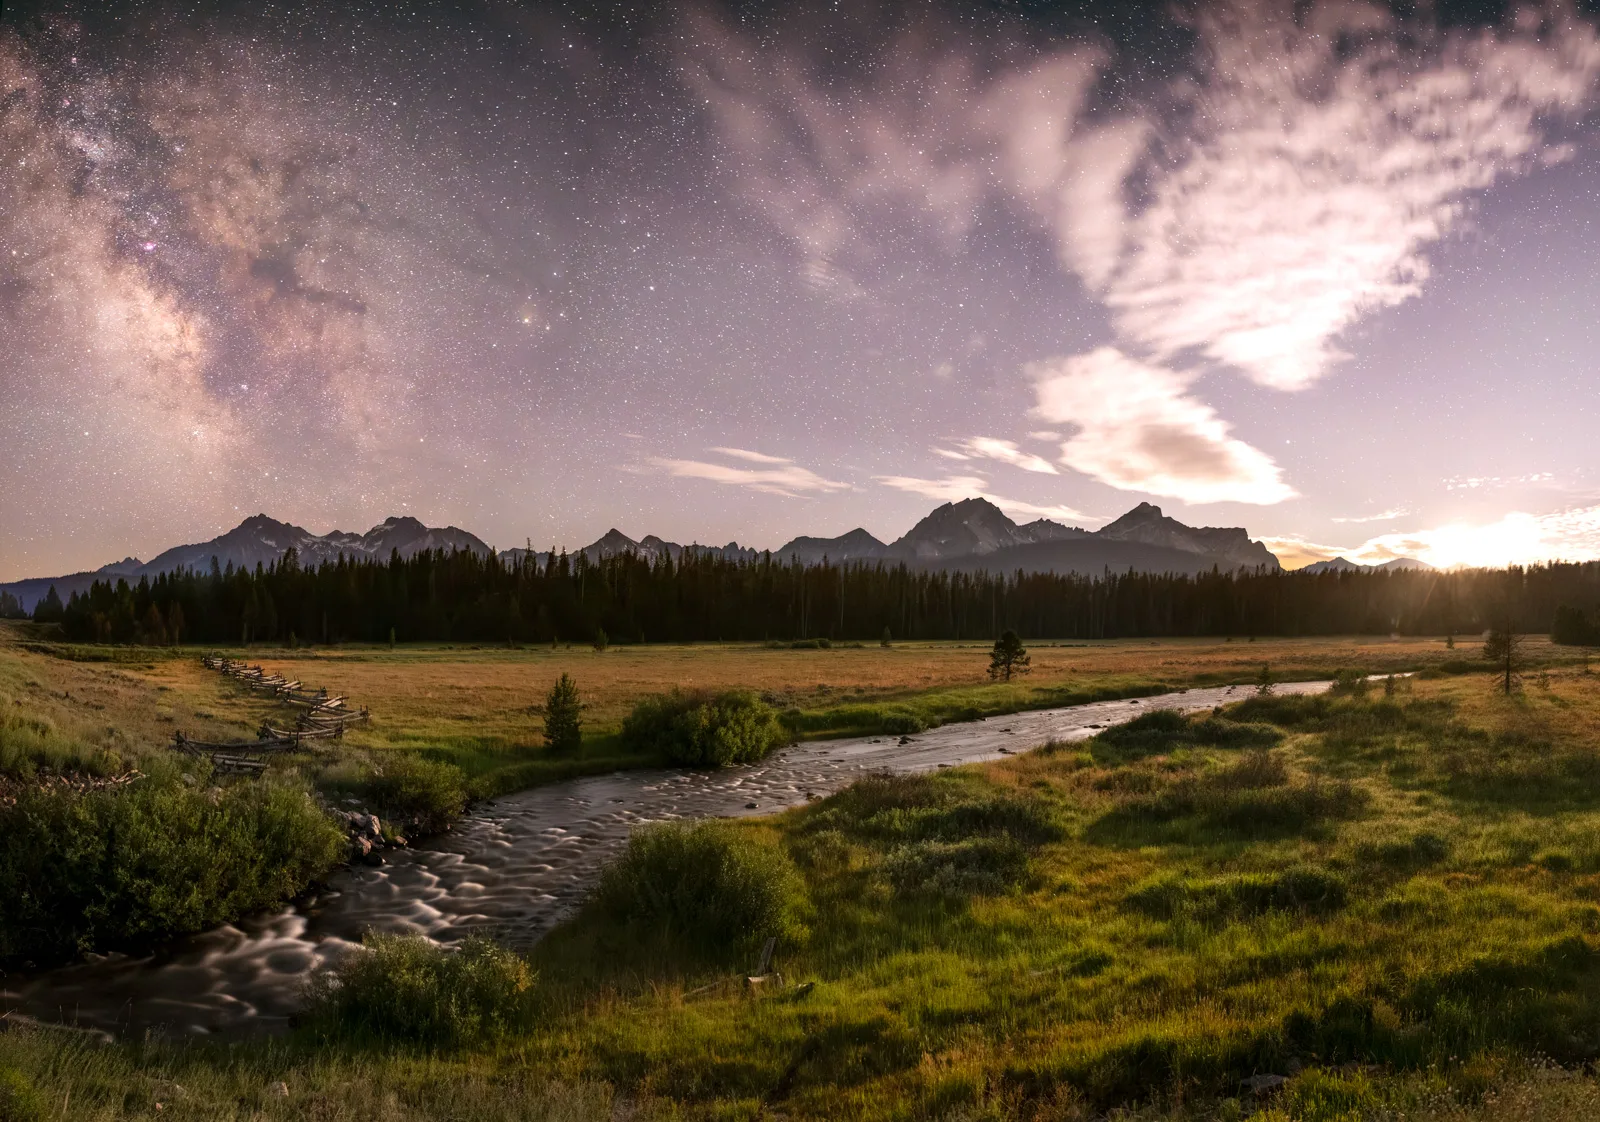
Locations in North America
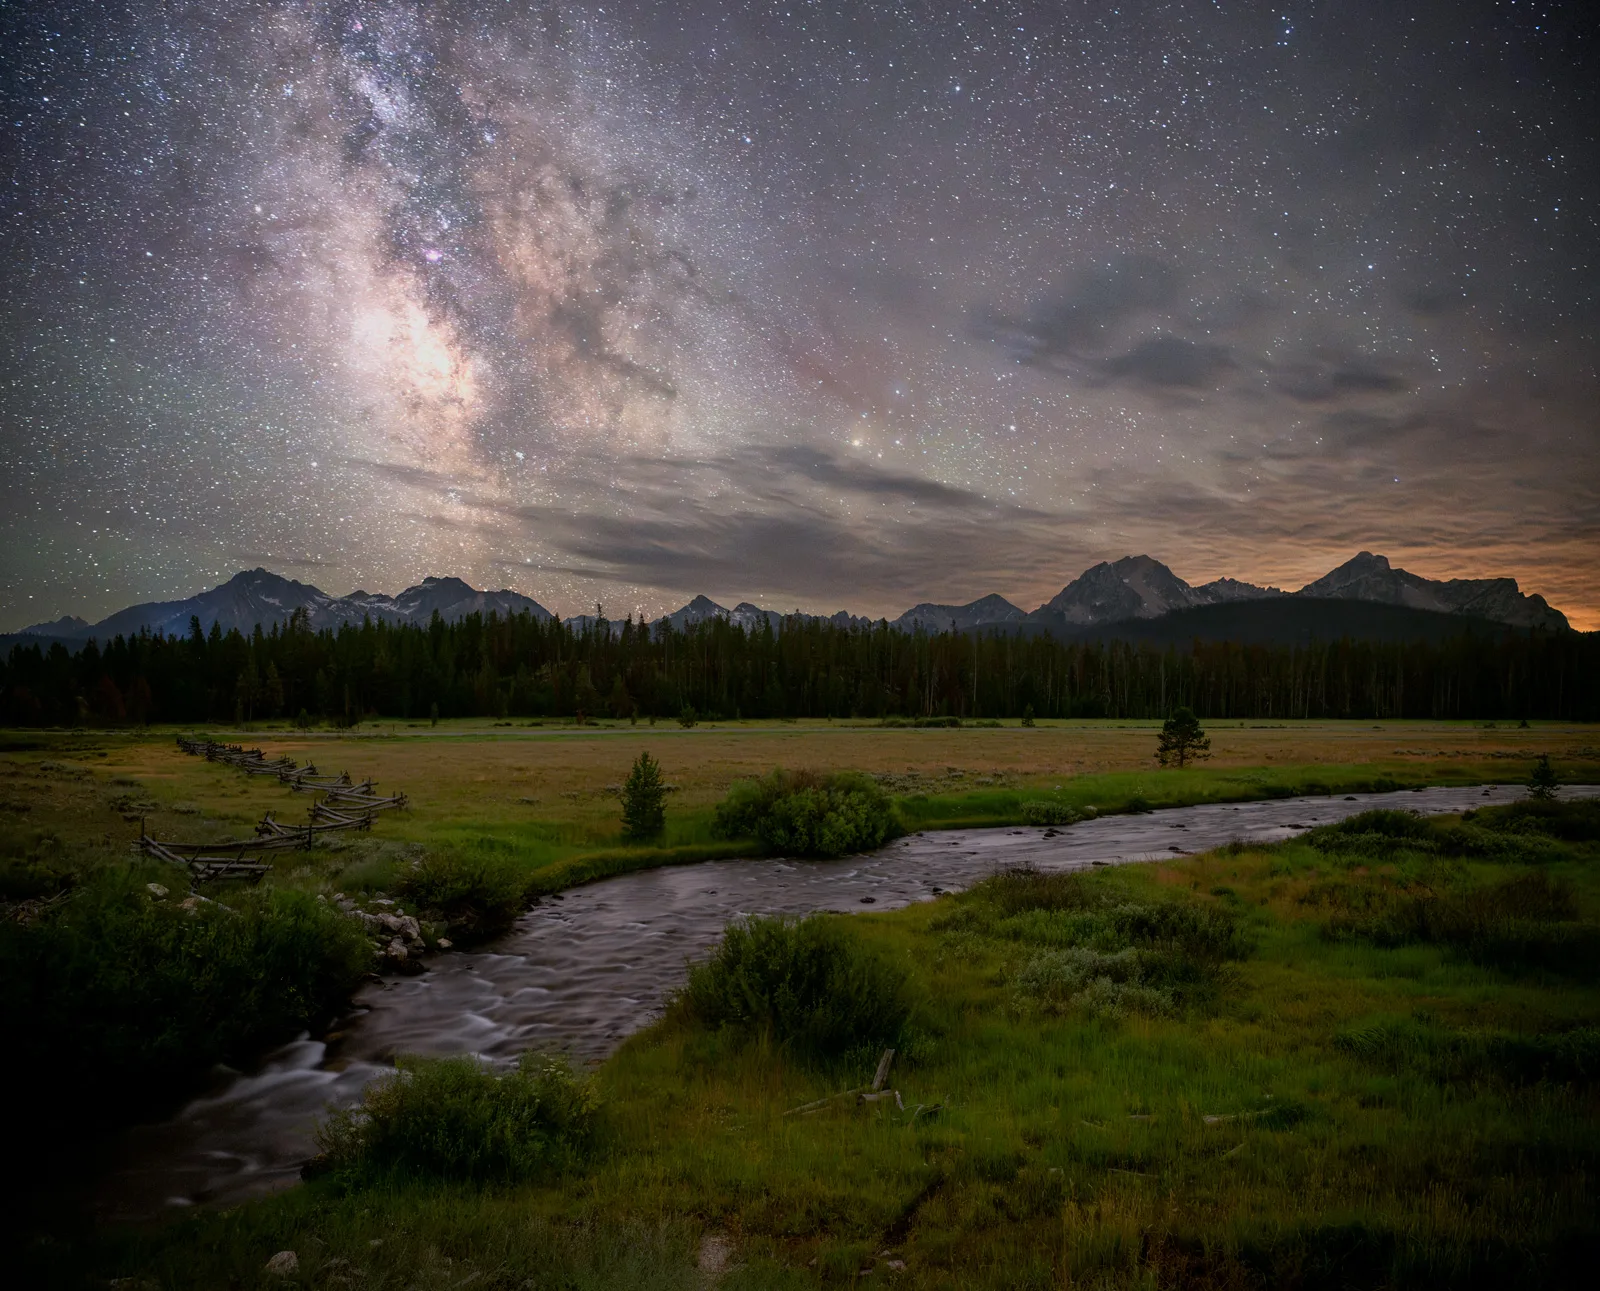
If you’re new to night photography, the single most important thing you can do, more important than gear, more important than settings, is to get yourself under a truly dark sky.
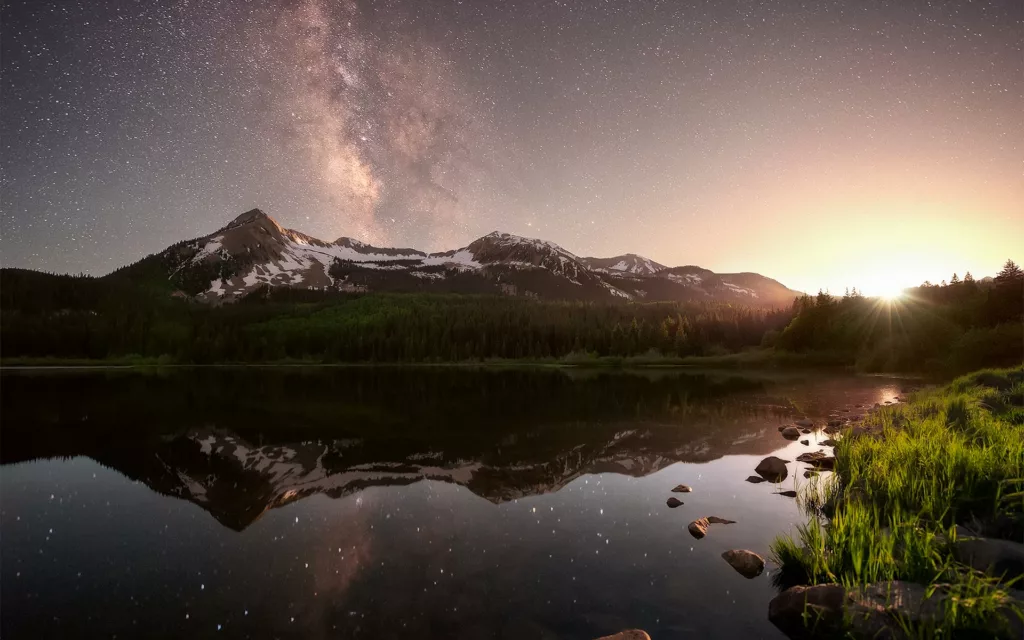
DarkSky International certifies a growing global network of International Dark Sky Places, now more than 250 worldwide, including over 40 units of the U.S. National Park system. These are the places fighting hardest to keep their nights dark, and they are spectacular places to make pictures.
The American West & Southwest
- Great Sand Dunes National Park, Colorado. Star fields rising over 750-foot dunes, one of the most surreal foregrounds in night photography.
- Black Canyon of the Gunnison, Colorado. Dizzying depth, almost no ambient light.
- Great Basin National Park, Nevada. Some of the darkest skies in the lower 48.
- Natural Bridges National Monument, Utah. The world’s first certified International Dark Sky Park (2007).
- Death Valley National Park, California. A dark sky park the size of Connecticut.
- Grand Canyon National Park, Arizona. Certified after retrofitting more than 5,000 light fixtures.
- Cherry Springs State Park, Pennsylvania. The dark sky destination of the East.
Dark Sky Sanctuaries & Reserves (the Darkest of the Dark)
- Oregon Outback. At 2.5 million acres, it is the largest International Dark Sky Sanctuary on Earth.
- Boundary Waters Canoe Area Wilderness, Minnesota. Pristine darkness over a million acres of lakes.
- Central Idaho Dark Sky Reserve. America’s first Gold-Tier reserve, 906,000 acres of Sawtooth wilderness stretching from Stanley to Ketchum.
Indigenous-Led & Culturally Significant Places
- Chaco Culture National Historical Park, New Mexico. Ancient Puebloan astronomy under what is still some of the most protected sky in the country.
- Mesa Verde National Park, Colorado. Cliff dwellings under stars our ancestors recognized.
If you want a complete, continuously updated list, DarkSky International’s official Place Finder is the best starting point I know.
Essential Gear for Milky Way Photography
You don’t need the newest or most expensive camera to photograph the Milky Way. A few pieces of gear matter more than others.
Camera Body
- Manual exposure controls
- Good high-ISO performance
- RAW capability
A camera with strong high-ISO performance and manual mode. Full-frame sensors generally pull cleaner files at ISO 3200 to 6400. Modern crop-sensor and mirrorless bodies have improved dramatically. Don’t let gear envy stop you.
A Fast, Wide Lens
- Focal length: Approximately 14–24mm full-frame equivalent
- Maximum aperture: f/2.8 or wider
- Ideal: f/1.4–f/2.0 for maximum light-gathering ability
A fast lens allows you to use lower ISO settings and shorter shutter speeds.
Sturdy Tripod
Long exposures require a stable tripod. Wind and unstable ground can quickly ruin an otherwise sharp image.
Headlamp With Red Light
Red light helps preserve your night vision and minimizes disruption to other photographers.
Other Useful Gear
- Spare batteries
- Intervalometer or wireless remote
- Extra memory cards
- Lens warmer or dew prevention system
- Lens cloth
- Warm clothing
- Water and food
- Navigation and emergency communication equipment when appropriate
Cold temperatures drain batteries quickly. Keep spare batteries in an inside pocket.
Camera Settings
These settings are starting points. Adjust them for your camera, lens, sky conditions, and creative vision.
- Mode: Manual
- Aperture: Wide open or approximately one stop down
- Starting aperture: f/1.8–f/2.8
- Shutter speed: 10–20 seconds. Leave the shutter open too long, and stars become short streaks.
- ISO: 3200–6400
- White balance: 3800K–4200K
- Focus: Manual
- File format: RAW
- Long exposure noise reduction: Off
- Image stabilization: Off when using a tripod
Check your images regularly and adjust your exposure as conditions change.
How to Focus at Night
Autofocus often struggles in extremely dark conditions.
Manual Focusing Method
- Switch your lens to manual focus.
- Use live view.
- Magnify the image as much as possible.
- Find a bright star or planet.
- Slowly adjust the focus ring.
- Stop when the object appears as small and sharp as possible.
- Take a test exposure and zoom in to confirm sharpness.
Do not assume the infinity mark on your lens is perfectly focused at infinity.
Recheck focus throughout the night, especially if temperatures change or your camera is bumped.
Safety in the Field
Night photography adds challenges that aren’t present during the day.
Before You Go
- Scout unfamiliar locations during daylight.
- Share your plans and location with someone.
- Check weather conditions.
- Know the route in and out.
- Download offline maps when necessary.
- Research wildlife and local hazards.
Bring
- Warm layers
- Water and food
- Navigation
- A reliable light source
- Emergency communication when traveling outside cell coverage
Field Etiquette
Dark-sky locations are shared spaces for photographers, other visitors, and wildlife.
Lights
- Avoid unnecessary white light.
- Use a red headlamp when possible.
- Keep lights pointed down.
- Be aware that even distant lights can affect another photographer’s exposure.
- Light painting can be a great creative tool, but always check with nearby photographers before illuminating a scene.
- Dim your screen or shield it with your hand.
Wildlife
- Give animals plenty of space.
- Never feed or pet wildlife.
- Learn about the species in the area before heading out.
- Carry appropriate safety equipment for your location.
- Never approach wildlife for a photograph.
Protect the Landscape
- Stay on durable surfaces.
- Avoid damaging cryptobiotic soil and alpine tundra.
- Pack out everything you bring.
- Follow Leave No Trace principles.
Parking
Pull completely off the road when safe and legal. Minimize the time your headlights affect nearby photographers.
Drones
Avoid disturbing wildlife or people who came to experience the quiet and darkness.
Frequently Asked Questions
Do I Need a Full-Frame Camera?
No. Full-frame cameras generally perform better at high ISO, but modern crop-sensor and mirrorless cameras are capable of excellent Milky Way images.
A fast, wide lens is often more important than upgrading to the most expensive camera body.
Can I Photograph the Milky Way With a Phone?
Yes. Modern phones with dedicated night or astrophotography modes can capture a recognizable Milky Way under truly dark skies.
A dedicated camera and fast lens will provide greater image quality and creative control.
How Long Does It Take to Learn?
You can capture a recognizable Milky Way on your first attempt with the right gear, a clear dark sky, and the camera settings in this guide.
Becoming consistent at planning, composition, focus, exposure blending, and post-processing is a longer arc, usually a season or two of regular practice. A workshop accelerates the curve dramatically because someone is standing next to you in the dark explaining why your stars look soft instead of you trying to troubleshoot it alone at 2 a.m. with cold fingers, a dying battery, and your brain telling you that you should be in bed asleep.
Quick Checklist
Before Leaving
☐ Check Milky Way position
☐ Check moon phase and moonrise/moonset
☐ Check weather and clouds
☐ Check light pollution
☐ Scout your composition
☐ Charge batteries
☐ Clear memory cards
☐ Download offline maps
Camera Settings
☐ Manual mode
☐ RAW
☐ Manual focus
☐ Image stabilization off
☐ Long exposure noise reduction off
☐ Aperture wide open or near wide open
☐ Start around 10–20 seconds
☐ Start around ISO 3200–6400
In the Field
☐ Confirm focus
☐ Check histogram
☐ Zoom in and inspect star sharpness
☐ Watch for dew
☐ Recheck composition
☐ Respect other photographers
☐ Respect wildlife
☐ Leave no trace
Troubleshooting
Stars Are Blurry
- Focus
- Tripod stability
- Wind
- Shutter speed
- Image stabilization is turned off
Image Is Too Bright
- Lower ISO
- Shorten shutter speed
- Adjust aperture
Image Is Too Dark
- Increase ISO
- Open the aperture
- Increase shutter speed while watching for star trailing
Stars Are Trailing
Shorten your shutter speed or use a wider focal length.
Lens Is Fogging
Use a lens warmer or other dew-prevention method.
Camera Won’t Focus
Switch to manual focus, magnify live view, and focus on a bright star or planet.
Join Me Under the Stars
Standing under a real, dark sky for the first time changes people. If you’d like to spend a few nights with me chasing the Milky Way under some of the darkest skies in North America, take a look at my upcoming night photography workshops or subscribe to my newsletter for trip reports, new image releases, and first access to workshop announcements. No spam, just stories from the wild and invitations to come along.
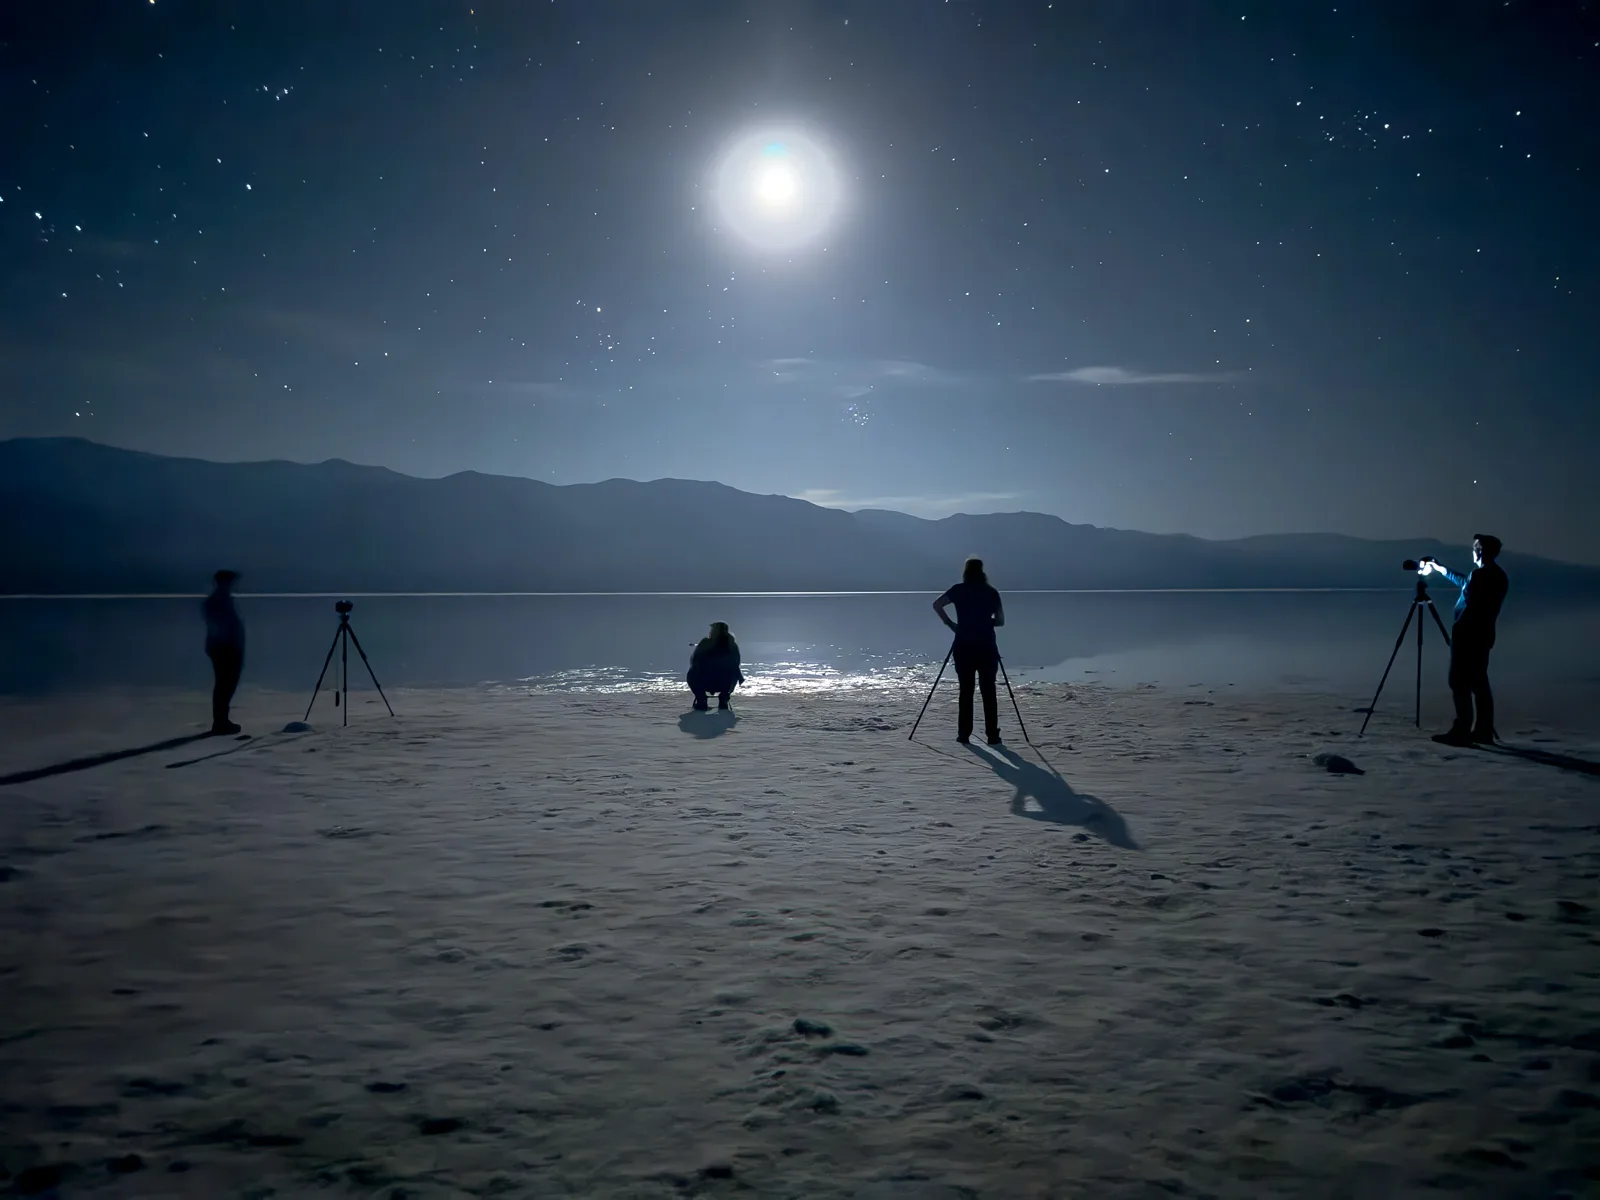
Prefer wildlife to galaxies? Read about my morning with the Sandhill Cranes at Bosque del Apache, or settle in beside a moonlit beaver pond and meet Colorado’s most overlooked ecosystem engineers.